
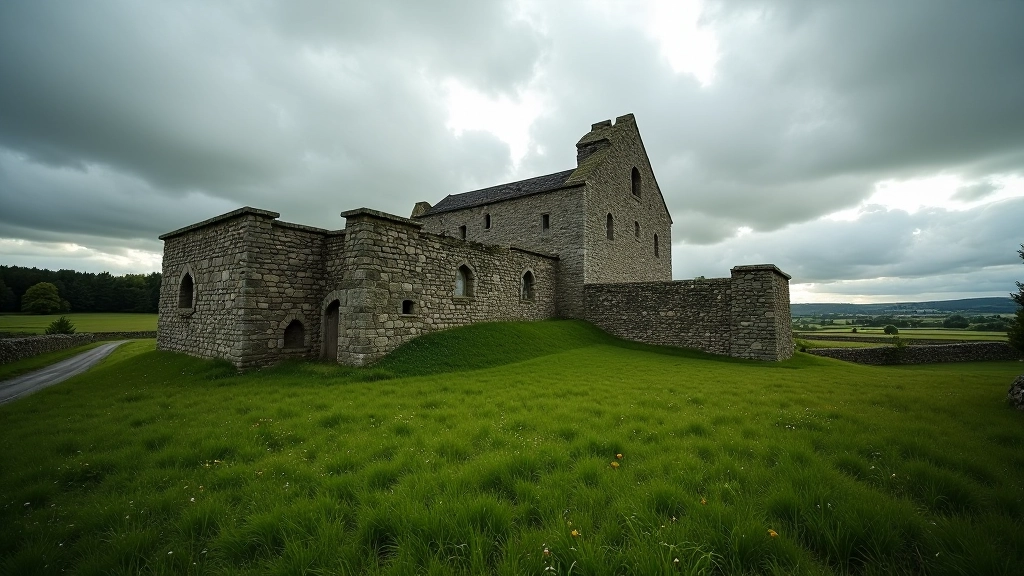
Medieval Moat Field Trail Guide
Discover the ancient earthworks that tell stories of medieval settlement. This peaceful field walk reveals how communities once protected themselves centuries ago.

What You'll Discover Here
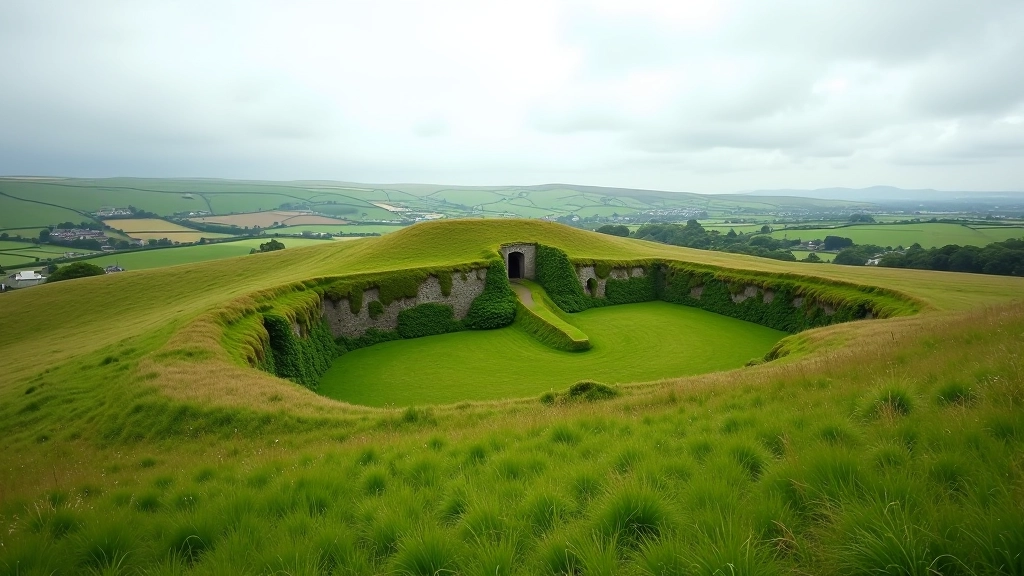
Walking the moat field isn't just a pleasant stroll through the Irish countryside — it's stepping back into medieval times. These earthworks weren't built by accident. They're the physical remains of how people organized themselves, defended their territory, and built community strength centuries ago.
The trail takes roughly 90 minutes at a comfortable pace, covering about 3.5 kilometers. You'll see raised embankments, water-filled ditches in places, and the distinctive mound patterns that reveal where buildings once stood. It's not overly challenging, but there's a bit of uneven ground and some muddy patches depending on recent weather.
Pro tip: Wear proper walking boots with good grip. The grass can be slippery, especially after rain, and the ditches aren't kidding about their depth.
01
Understanding the Layout
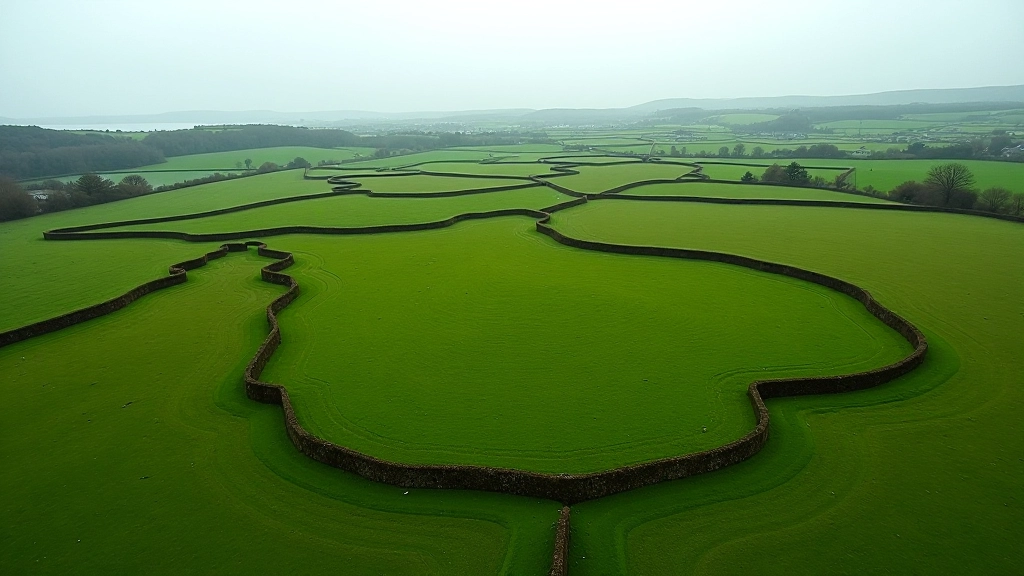
Medieval moats served multiple purposes. They weren't just about defense — though that mattered plenty. A moat could be 4-6 meters wide and 2-3 meters deep, creating a serious barrier against unwanted visitors. But they also controlled water flow, provided fish for food, and sometimes even powered mills downstream.
The field you're walking through likely belonged to a small settlement or agricultural community. You'll notice the main ditch runs roughly north-south, with several smaller branches feeding into it. These branches carried water from higher ground down toward the main defense line. The raised areas between the ditches? Those're where houses, barns, and workshops stood. Some of the mounds are still 1.5 meters high.
What's remarkable is how intact everything remains. Eight centuries later, you can still trace the exact settlement pattern. The community that built this had maybe 30-50 people living here permanently, with seasonal workers during harvest time.

02
Navigation & Key Waypoints
The trail itself isn't officially marked, but that's part of the appeal. You're following the earthworks themselves — they're your map. Start at the field entrance (there's parking for 8-10 cars near the farm gate). Head toward the main ditch running north. You'll walk along the eastern edge first, following the raised bank.
About 15 minutes in, you'll reach what locals call "the corner" where the main ditch turns sharply westward. This is the strongest defensive point of the settlement. The ditch is deepest here, nearly 3 meters down. Take time to stand here — the view shows you the entire settlement pattern at once. On clear days you can see toward the coast.
The northern section shows the secondary ditches more clearly. Walk slowly through here and you'll spot what archaeologists call "hollow ways" — sunken paths where people walked for centuries, wearing the earth down 30-40 centimeters below the surrounding ground level. These paths connected buildings and led to the main gate, which was probably located at the northwestern corner.
- Start: Farm gate entrance (0 km)
- Main ditch begins (0.4 km, 12 min)
- The Corner junction (0.9 km, 25 min)
- Northern section view (1.8 km, 50 min)
- Return loop (3.5 km, 90 min)

Continue Your Exploration

Important Information
This guide provides educational information about the moat field's historical significance and general route description. Always check current conditions before visiting — weather, field access, and ground stability can change. Wear appropriate footwear and bring water. The field remains private land in some sections; respect farm operations and stay on established paths. This information is intended as a companion to local knowledge and official resources, not as a substitute for proper planning and preparation.
Why This Walk Matters
You're not just walking through a field. You're tracing the decisions made by people 800 years ago. They chose this spot for water access, for defensive strength, and for farming potential. They dug these ditches by hand, built their homes here, raised families, grew crops, and lived out their lives on this exact ground.
The moat field tells a story that written history often misses — the story of ordinary people organizing themselves, protecting what mattered to them, and leaving physical evidence of their existence for us to discover. Walking it connects you to that continuity. You're literally following paths worn by medieval footsteps, understanding spatial planning that still makes sense eight centuries later.
And honestly? It's a genuinely pleasant walk. The landscape is peaceful, the views are worth the effort, and there's something deeply satisfying about understanding what you're looking at. Once you see the settlement pattern, you can't unsee it. Every bank becomes meaningful. Every hollow way tells a story.